
WiFi Hotspot Login Guide
Provider: Powerlynx / Camping Connect
Follow these steps to connect your device to the WiFi hotspot.
1. Connect to the WiFi Network
- Open your device’s WiFi settings.
- Select the site’s WiFi network.
- Once connected, the login page should open automatically.
- If it does not open, launch your web browser and visit any website.
2. Enter Your Phone Number
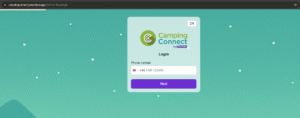
- Select your country code.
- Enter your mobile phone number.
- Click Next.
3. Enter Your Details
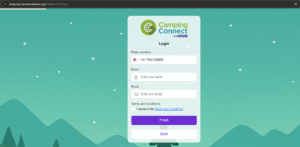
- Enter your Name.
- Enter your Email address.
- Tick the box to agree to the Terms and Conditions.
- Click Finish.
4. Choose a WiFi Plan
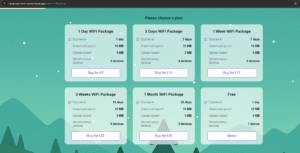
- Select the package that best suits your needs.
- Available options may include:
- Free
- 1 Day WiFi Package
- 3 Days WiFi Package
- 1 Week WiFi Package
- 2 Weeks WiFi Package
- 1 Month WiFi Package
- Click Buy or Select.
5. Make Payment (If Required)

- Enter your payment details, This can be your debit/credit card, or Apple/Google pay if available on the page.
- Click Pay.
6. Add Additional Devices (Optional)

- If your package allows multiple devices, you can add more devices to your plan.
- Enter the MAC address of the additional device, such as a Smart TV or camera.
- Click Add, then click Continue.
7. You’re Connected
- Once the process is complete, your device will have internet access.
- You can now browse the internet as normal.
Important Notes
- Your connection will expire based on the package you selected.
- If you disconnect and reconnect later, you should not need to pay again during your active access period.
- The number of devices you can use at the same time depends on your selected package.